The Proper Way To Clean A Gas Stove-Top For Sparkling Results
We may receive a commission on purchases made from links.
Bringing the power of the wood-fired hearth into your kitchen, a gas stove allows you to cook with flame safely in your home. The fascinating history of the gas stove started in the 1830s, about 30 years after cooking with gas was first recorded. While there have been many advancements in design and technology since then, one thing has remained the same: A gas stovetop must be adequately cleaned to prevent bacteria buildup and keep it looking great and working efficiently.
It's generally recommended that you wipe away crumbs and liquid spills from a gas stovetop after each use, and do a deep clean every week. If you have a busy lifestyle and don't use your stove very often, though, doing a thorough clean at least once a month should suffice. A deep clean involves several steps, but doesn't have to be an arduous task if you do it regularly.
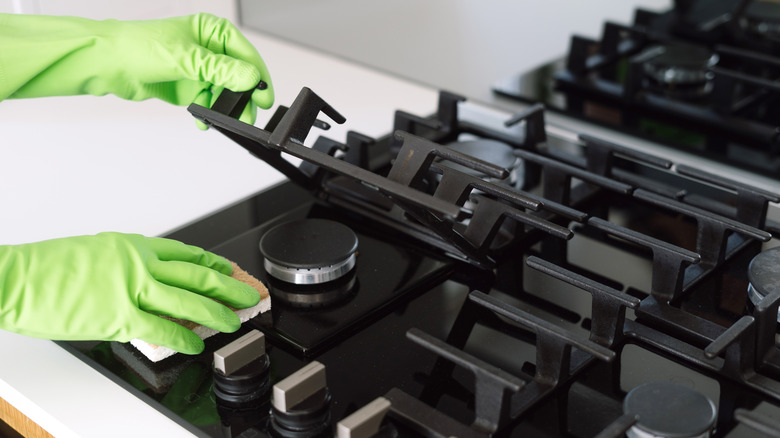
Before you start wiping and scrubbing the stovetop surface, burner caps, and grates, it's important to make sure that all of these parts cool to room temperature and that the gas valve is off if there's a standing pilot light. Cleaning a stovetop while it's hot is never a good idea because you could get burned, and turning off the gas valve prevents gas from spreading through your kitchen. Remove the grates and burner caps to soak in hot, soapy water; refer to the appliance manual for instructions on removing these parts since gas stovetops vary in design. With these steps out of the way, you're ready to start cleaning.
How to clean the surface of a gas stove-top
After removing the burner caps and grates from your gas stovetop, cleaning the surface underneath is pretty straightforward. The first step is to remove any loose debris, and one of the best stove cleaning hacks you're going to love includes using a vacuum brush attachment or a handheld vacuum to suck everything up rather than wiping crumbs and dirt with a rag.
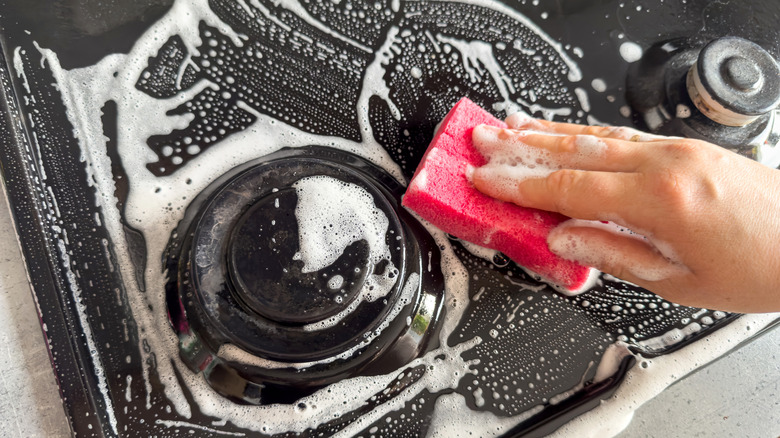
Next, apply a store-bought cleaner that's safe for gas stovetops — such as Weiman gas range cleaner and degreaser (following the manufacturer's instructions) — or make a cleaning solution of your own. If there isn't a lot of grease and grime to remove, use a soft cloth or sponge to lather up a combination of warm water and dish soap. Let the solution sit on the stovetop for about five minutes before you scrub it away. Always use something nonabrasive to scrub with to avoid scratching the surface.
For tougher dirt and grease spots, you have two options: (1) a solution of equal parts vinegar and water or (2) a paste of 1 part water and 3 parts baking soda. Let either of these sit for about 20 minutes so they can work their magic. Scrub away the cleaning residue with clean water and a cloth or sponge. Finally, use a microfiber cloth — like these Rubbermaid microfiber cloth towels — to completely dry the surface.
How to clean the gas burner heads, caps, and grates
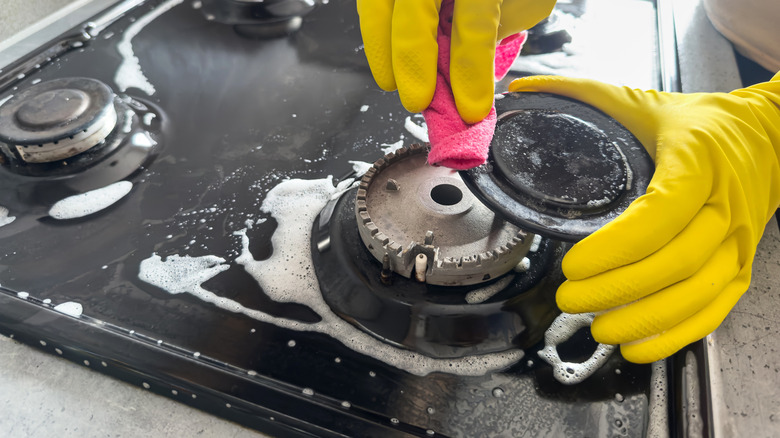
Before cleaning the gas burner caps and soaking grates, inspect the burner heads for any debris in the grooves. The burners on some stove models have pinholes in the sides. A paper clip, sewing needle, or twist tie wire can remove the debris. If the burner heads are very dirty, remove them to soak and scrub in soapy water or use a baking soda paste and toothbrush to clean them. It's important to consult your owner's manual to determine the best option and avoid damaging any parts.
As long as you soak the burner caps and grates for at least 20 minutes, it should be easier to scrub off any cooked-on food. You should still use a nonabrasive cloth or sponge to avoid damaging these parts while scrubbing. Your baking soda paste works wonders here for stubborn spots, but depending on your gas stovetop model, you may be able to put the grates in the dishwasher. A handheld steam cleaner is another option for cleaning the various parts of your stove. Just make sure that the bristles on the attachment aren't too abrasive so they don't scratch the finishes.
When all the parts are sparkling clean, ensure they're completely dry before reinstalling them. If you have one, turn the gas valve back on for the standing pilot light, and test the burners to make sure that they ignite properly and that the color of the gas flame is blue.


